Combat Guide
- For other progression guides, see Progression Guides.
- For other guides, see Guides.
Introduction
[edit]Guide is still considered incomplete, specially for more advanced scenarios such as multi-aggro, but its current state should still serve as a good introduction to the combat for anyone new to the game
This guide should serve to help newer people get into the combat of the game, help you survive and deal damage by providing guidance into the game mechanics and how to use them to your advantage.
Combat in Mabinogi is unlike pretty much any other MMORPG, it's not your traditional EQ/WoW-style combat where you just stand there exchanging blows with your enemies, cycling through skills until someone dies. Nor is it like an Action Combat game.
Combat is slower paced, functioning around some core mechanics that we'll get into shortly, and you can completely avoid getting hit with proper play.
Core Mechanics
[edit]The game's combat revolves around 3 core mechanics: Stun, Stability, and skill interactions.
Stun
[edit]Stun is caused by most hits, leaving the target unable to perform most actions while stunned, no moving, or attacking.
If your target is not stunned, attacking them might be dangerous, depending on the situation, such as AI, what skill they are using, are they aggroed, do they have passive defense, all things we'll get to in this guide.
Stability
[edit]When you hit an enemy enough times, they will get knocked back, this is due to their stability having been reduced below 0.

Different skills do different amounts of stability damage, and when using normal attacks, different weapons do different amounts of stability damage, which is based on their speed (slow, normal, fast, etc). Stability is also recovered at a steady rate constantly.
The stability bar you see on a targeted enemy represents their stability damage, it goes up as their stability reduces, when full they get knocked back.
An enemy's state of "knockback" consists of:
- None
- Knocked back (or knocked down)
- Bounced
- Resisted
In the gif to the left, you can see all of these states occur, on the 3rd hit, stability goes below 0 at which point the enemy is knocked back, the 4th hit is again putting the enemy below 0 stability, but since the enemy is already in a knockback state, it goes to the next state, "Bounced", at which point you can see it bounce in place, instead of getting knocked back further. Finally, the 5th hit, doing yet again stability damage while the enemy is in this bounced state, will go to the "Resisted" state, in which it will resist the knockback and get back up immediately, and in this case, charging towards the player.
These knockback states are important to understand as seen in the gif, as using attacks such as ranged, or magic, (or any combination of attacks from multiple players during party play) can easily cause a Resisted state, putting you, or a party member, in immediate danger.
The solution in most of these cases is to just wait, and pay attention to the stability bar.
In the gif to the right, we can see the player avoiding bounce by timing their shots.
Skill Interactions
[edit]Skill Countering
[edit]This involves how some skills can counter others.
- Defense will counter a normal attack, as the defender will take reduced damage and be able to attack immediately after blocking.
- Smash will counter Defense, as defense cannot block it.
- Counter Attack will counter normal attacks and smash
- Windmill can counter Counter Attack
- Normal Attacks can counter Smash
- Normal Attacks can counter or be countered by Normal Attacks, a normal attack against another, can have different outcomes, and they are just based on a random roll check by the server, where 3 things can happen.
- You "win" the roll and are safe, hitting the target.
- You both get hit.
- Or your target "wins" and hits you.
These are some basic examples of skill interaction, the ones that you are more likely to encounter at the beginning of your journey.
non-melee skills such as archery, magic, alchemy, often have to worry less about such interactions:
- A Ranged Attack will have no issue against Smash, Counter Attack, or Windmill (as long as you keep your distance), and can even be safe from Defense if you fire your second shot fast enough. The same can be said of Icebolt.
- Magnum Shot is almost the same, except if an enemy using Defense is holding a shield, then they can block it.
Skill Combos
[edit]This involves how certain skills can start immediately loading right after another.
- Ranged Attack, Defense, and others, can begin loading during the Windmill animation.
- However, Counter Attack can not begin loading during the Windmill animation.
- Defense, Counter Attack, and others, can begin loading when normal attack knocks back an enemy and is still in animation.
We'll explore more interactions as we get into some tactics.
Surviving
[edit]With a basic understanding of the core mechanics, we can get into some advice on how to survive, which in simple terms, involves not getting hit in the first place.
The most simple advice is to not just charge at the enemy and attack, and keep attacking even after you knock them back, as after knockback the enemy could be readying Defense, Counter Attack, or even charge back at you with another normal attack, all of these cases are dangerous for you.
Instead, as a start, consider each knockback a "reset", where new decisions need to be made, we can consider almost like a turn-based approach, where each "turn" is separated by a knockback, be it yours, or your target.
On a one-on-one situation, which is what you'll most encounter at first, you can consider the following steps happen:
- You see your target, and decide to attack.
- Whether you use normal attacks, or something like smash, the enemy will eventually get knocked-back.
- At this point you can consider one "turn" has passed, and the states reset, the AI is going to make a decision on which skill to use, and you'll need to be prepared to counter that.
- You successfully counter, or fail to, and someone gets knocked back.
- Repeat from 3.
The most basic "turn" will look like this:
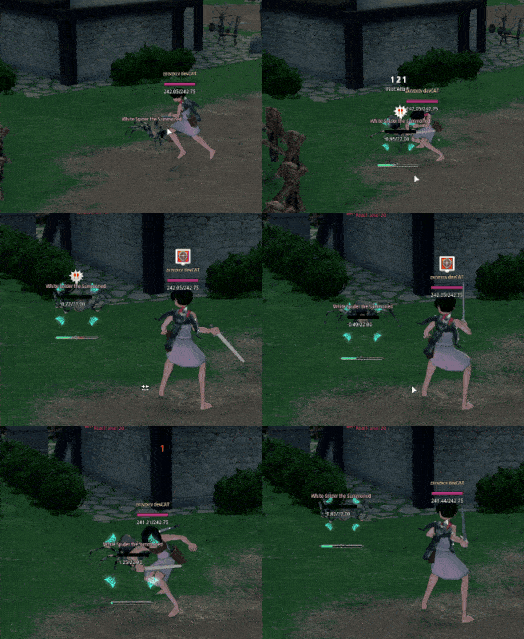
- Normal attacks until knockback.
- You prepare Defense.
- Enemy charges at you with normal attack.
- You defend.
- Repeat from 1.
And this will serve you well against the most basic AI of all, spiders, or at least, most spiders, such as the ones you encounter in Alby Dungeon.
But what if the enemy loads up Smash and you have Defense prepared?
In this case you want to quickly react to this, here are a couple of options:
- Simply cancel Defense and attack with normal attacks.
- Cancel Defense, and prepare Windmill.
This is where knowledge of enemy AI and interactions will help you decide what skills to use, wolves are prone to using Smash for example, as well using Defense or Counter-Attack, in these cases you can:
- If they load Counter-Attack, you can attack them with a ranged skill / bolt magic, you can also approach into Windmill range and Windmill.
- If they load Defense, you can try to quickly use Smash.
- In both cases you could also just wait them out and see what they do next.
Alright, to re-cap, the idea here is that at first you should consider combat in a slow paced approach, enemies will use a skill as they get knocked back, at which point you need to pay attention and react to counter whatever they do. As you progress into harder dungeons your reaction and decision making will need to be faster and consider different approaches, but we'll get to that in due time.
Knowing your enemy
[edit]We touched about what to do in certain situations, but how to know what's the situation you are in? Is that enemy using Defense, Smash, or what?
The skill Sharp Mind exists, which lets you know that an enemy is using a skill, though it may not always tell you which skill it is, only that a skill is being used.
However, you'll still need to rely on your knowledge of skills (sharp mind didn't even exist in the earlier stages of the game), a few examples:
- You cannot run while Defense is loaded, meaning an enemy with a skill loaded and walking, might be using Defense.
- However, some AI, like Skeletons, like to walk even with Smash loaded, which could trick you.
- You cannot move with Counter Attack, an enemy using a skill and standing still might be using Counter Attack.
- You can run with Smash, early game enemies are likely to just charge at you if they load Smash.
Another hint to what's being loaded is how long it takes to load, Smash takes longer than defense for example.
Enemies generally speaking follow the same rules a player does, if you cannot move with a certain skill loaded, then mobs won't either.
This guide will not be an AI guide explaining all enemies and how they behave, but knowing the information so far provided, you can know what to look for and start gaining knowledge on your enemy, and improve your approach to fighting them.
One more hint into getting to know your enemy, is to pay attention to what they say, some AI talk while in combat, and what they say can often be a hint to what they are planning to do! As an example, Rat Men will say "Here I Come", "Prepare for a heavy blow.", or "I have found a blind side." when they prepare Smash, and they'll say "Hahahaha", or "A hit, it's a hit!" when they are going for a normal attack.
Killing
[edit]In the previous section we analyzed a more defensive approach to combat, which can serve you well early-game, but let's also explore some different ways we can approach enemies, a more offensive approach, prolonging your combo for as long as possible, leave no chance for the enemy to retaliate.
Prolonging your combo
[edit]Let's go over some simple tactics, and skill, that can be used to keep your attacks going without having to wait for the enemy to react.
For more tactics see Combat Tactics.
N+1
[edit]By waiting a short time between hits in a normal attack, allowing the enemy's stability to recover enough, you can prolong your combo by one hit.
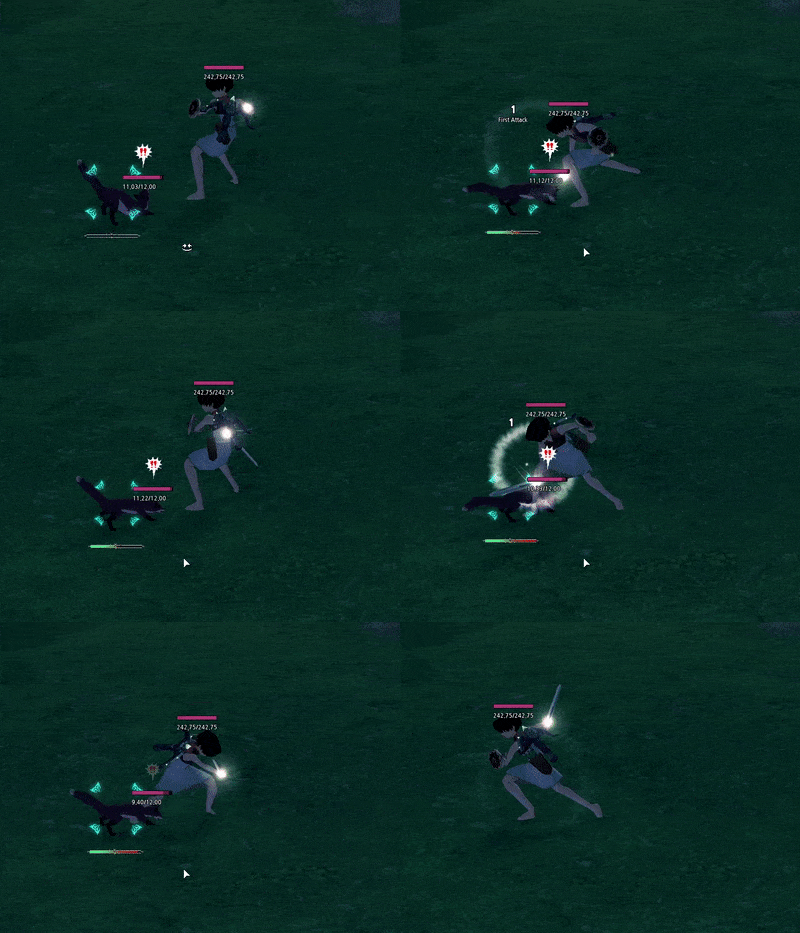
This can be very useful at the very early game, where your special attacks aren't ranked up yet, doing an extra hit with your normal attack and lead to more reliable damage.
N+WM
[edit]Instead of finishing your normal attacks with the last hit of your normal attack, you can instead use WM, which will equal to more damage to your target, and if you are positioned nearby other targets, even more damage caused to them.
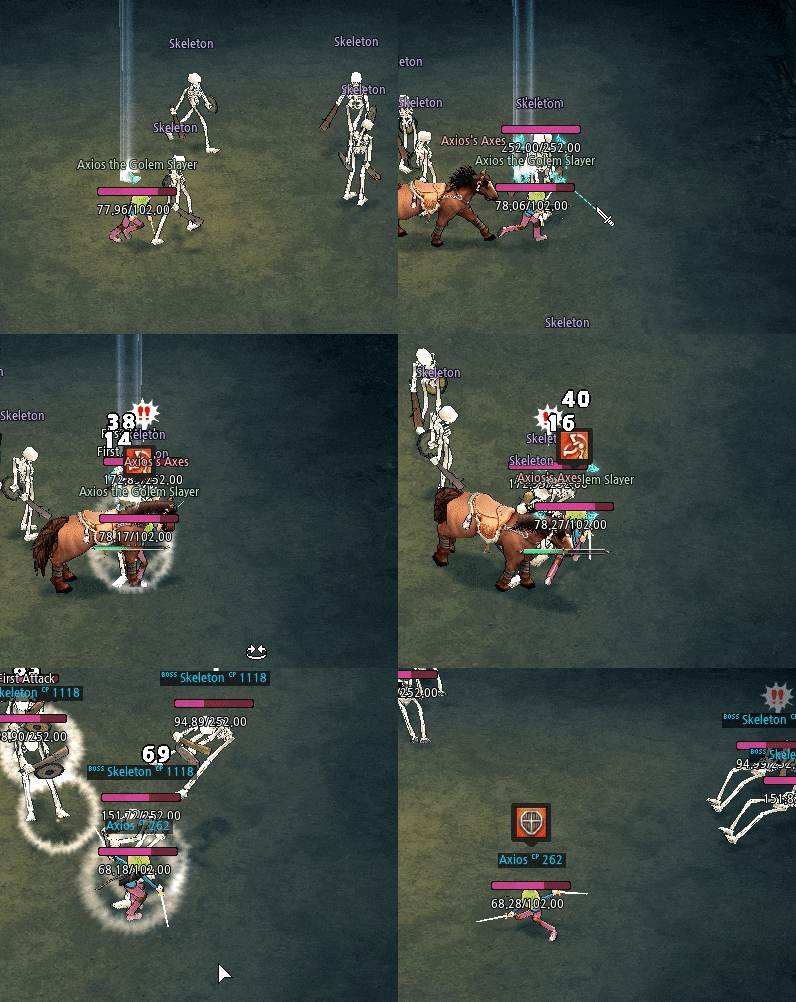
This will greatly speed up your clear speed in packed rooms.
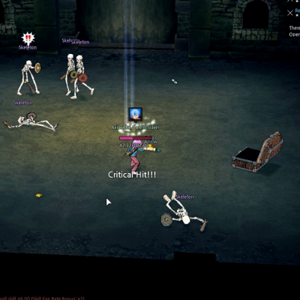
Assault Slash
[edit]Assault Slash is an easy knockback follower, just be careful if you use right after Windmill, you'll bounce the target, you can avoid this, based on our explanation of stability, by waiting for the enemy stability to recover enough, the timing is pretty simple, use Assault Slash during the later part of the Windmill animation, as your character finishes standing up.
Icebolt
[edit]Very useful skill early game, allowing you to stun the enemy from a distance for long enough to continue with more attacks.
Fighter Skills
[edit]Charging Strike, Spinning Uppercut, and Drop Kick are very high damage burst skills that are very recommended to be learned soon, even if you don't rank them up yet, as even having them at rank F can serve as good utility, and still deal decent damage for the early game.
Charging Strike has the property of it being an instant skill that will counter almost anything, except for Counter Attack and Windmill, even if the target blocks it with defense, following up with Spinning Uppercut is immediate and so will not stop you.
Putting it together
[edit]Assault Slash can follow up after WM while avoiding a bounce. Since Icebolt can be comboed from Assault Slash, while putting some distance from the enemy, we can stun it with Icebolt and continue attacking.
Dealing with multiple enemies
[edit]First, let's talk about multiple single-aggro enemies, meaning that you will only have one enemy on you, in these cases you are not in any extra danger, but can take advantage of some of your skills to deal damage to multiple enemies, Windmill being a great skill for this. N+WM as explained will allow you to attack around you while you hit your main target.
A very important factor here is your positioning, try to position yourself against an enemy that is close to others so your WM can hit several, you can also use icebolt to lure, or even reposition yourself to the other side of the enemy with a normal attack stun, during the time you wait for an N+1.
Another, perhaps a bit more dangerous, tactic I like to use early game, is to use your weapon splash to your advantage, if you have your main target coming after you, and they are close to death, I position myself close to another target, and attack them just at the right time so the splash damage can hit your main target, finishing them off with an N+1 while simultaneously starting your assault against your new main target.
Multi-Aggro
[edit]When you have more than one enemy aggro you, things change, you now have to react to more than 1 enemy, however the best approach can be to make things de-aggro you, you can do this with the use of pets, if you are dealing with enemy A, but enemy B aggros you suddenly, you can quickly summon a pet, have them attack, optionally de-summon the pet, and you'll be safe for a short time, perhaps enough time to deal with your current target.
Your first encounter to multi-aggro might be Ciar Normal, where Goblins and Goblin Archers can aggro simultaneously, and it's a perfect place to practice your first pet handling scenarios, as the multi-aggro here is very minimal.
Another approach is to just, use Windmill, a lot.. Windmill is a very strong skill, which is one reason you'll often see it recommended to rank it up ASAP, it will help you kill multiple things fast, and if you have your aggroed targets together and against a wall, you can keep them pinned with WM, at least until only one remains.
Passive Defenses
[edit]All of the above was made with the assumption that enemies have no passive defenses, and that will be the case for a bit of the early game, and some mid-game, but there will come a time where you might go for a normal attack against an enemy, and notice that they "ping" red and attack you back, this is the melee passive defense Heavy Stander.
There is one passive defense for each of melee, magic, and ranged, respectively they are: Heavy Stander, Mana Deflector, and Natural Shield.
Knowing which enemies have each of these will come with experience and perhaps getting hit and/or killed in the process, but that is all part of the journey to mastery of the combat.
When dealing with enemies with passive defenses you'll be limited to what skills you might want to use, for example any icebolt technique we described above should be avoided against enemies with Mana Deflector, as they will not get stunned by it.
Normal Attacks should be avoided against Heavy Stander, as you will only be giving them an opportunity to attack you.
And normal Ranged Attacks should be avoided against Natural Shield.
Attacks that guarantee knockdown are what you want to do against these enemies, such as Smash, Windmill, Magnum Shot, or Firebolt, as a few examples.
